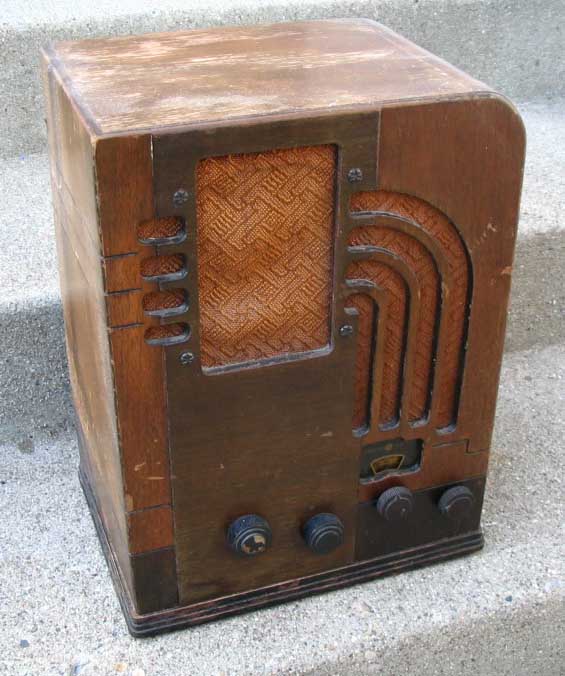
I purchased this awesome General Electric tombstone at the 2004 Marc show in Lansing, MI. This radio
wasn't out in the morning, but the seller placed it out after lunch, and I was lucky enough to be
the first person to see it. This is a very, very rare tombstone. In fact, in years of collecting,
visiting swaps, and watching e-Bay, this is the only one of these I have ever seen. The radio
cabinet has some chips in the front veneer, and the lacquer finish is badly deteriorated all
over the radio. It would need to be refinished, and the veneer patched. Two of the knobs
were Philco knobs, and incorrect for this radio. They would need to be replaced.
Electronically, The chassis looked to be
complete, but I did not power it up. I pulled the chassis to save for a wintery
day.
Cabinet Restoration
|
|
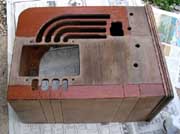
Stripped radio
|
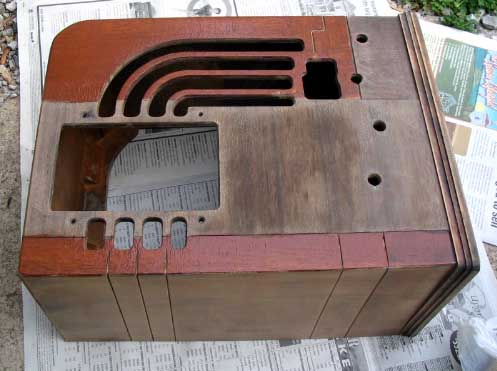
The first thing to do was strip off the remaining finish. I used Parks Refinisher
and 000 steel wool to remove the old finish. Because the original finish was in such
poor shape, the old lacquer came off pretty easily. The radio has a two-tone front, with top
and sides toned to match.
The photo to the right shows the radio after stripping. It's still wet from the mineral
spirits washdown that I gave it. You can see the differing styles of walnut in the radio,
from a reddish-orange side walnut to the dark brown base and middle-front panels.
|
|
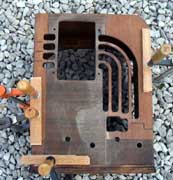
Patching Veneer
|
The photo to the left shows some veneer being clamped. The bottom edge veneer was loose,
but not missing. That was simply glued and clamped. Each side of the front also had a veneer
chip missing. Veneer from another old radio was carefully glued into place, with the patch being
slightly larger than the misssing piece. Careful attention was paid to making sure the grain
and color were a close match to the original. The new pieces were then clamped down hard.
After the glue dried, the clamps were removed. The patches were lightly sanded and feathered
into the existing veneer. The results were excellent, you cannot see that the veneer has been
patched.
|
|
Filling light areas
|

|
|
Filling dark areas
|
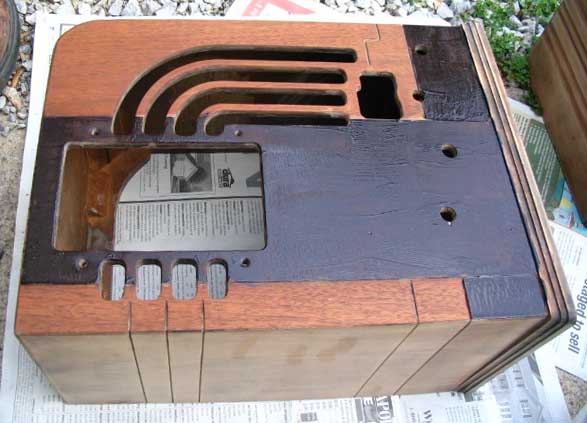
The photos to the right show the grain being filled. A light grain filler was used on the lighter
areas, and a dark filler on the darker areas. Each area was filled twice, so that the final finish
would be silky smooth.
Once the filling was done, the radio was rubbed down with a light walnut stain, then the first
coat of clear laquer went on. The top and sides were toned with Behlen Master toners to match
the front, then multiple coats of clear lacquer were sprayed over the top.
The radio was left
alone for a few days, then rubbed out using various grades of sandpaper and rubbing compounds, with
water and lemon oil as lubricants. The grillecloth was replaced with an exact replica, and the
details around the grille bars were trimmed in black. After rubbing out, a thin coat of protective
wax was applied to the radio, with more rubbing out. The two original knobs were stripped
and repainted in their original black, and two other wood knobs were procured and painted to match.

|
|
Done!
|
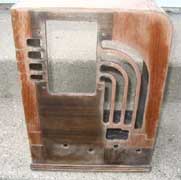
The image on the left (sorry for the bad picture) shows the completed radio. I think it
turned out very well! The radio is very nice looking, and draws many compliments from
those who see it. I still haven't seen another like it, and the rarity of this radio
is reflected in the high book value it has been given.
Overall, this was a fun and exciting radio to work on. I hope to someday acquire the RCA
version of this radio, which has a repwood front with a floral motif.